Thursday, 23 August 2012
I think it's about Day 10 now:)
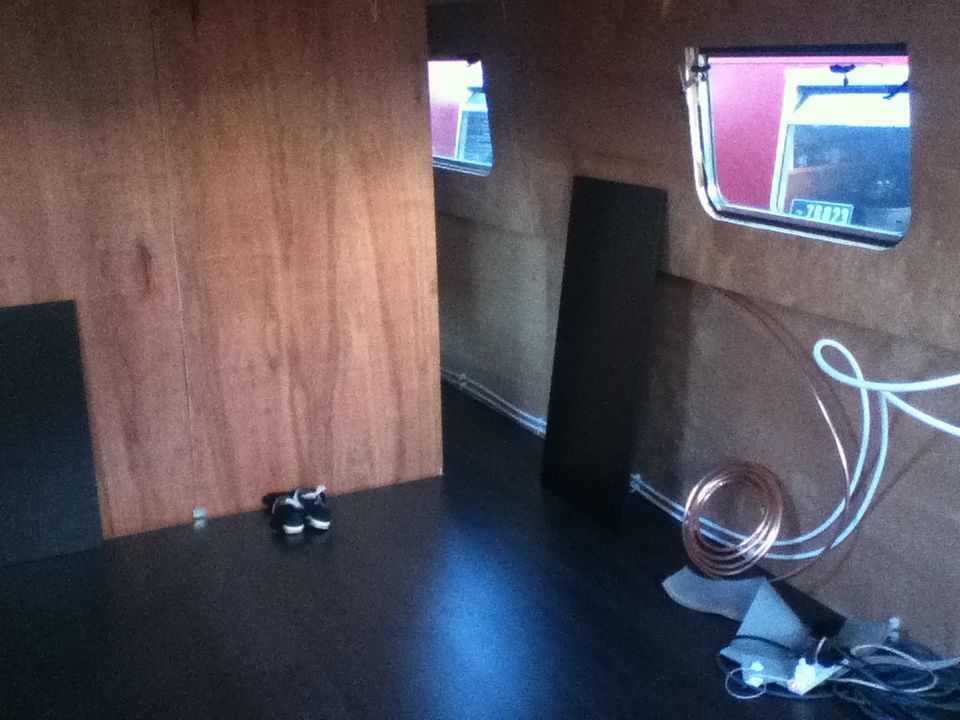
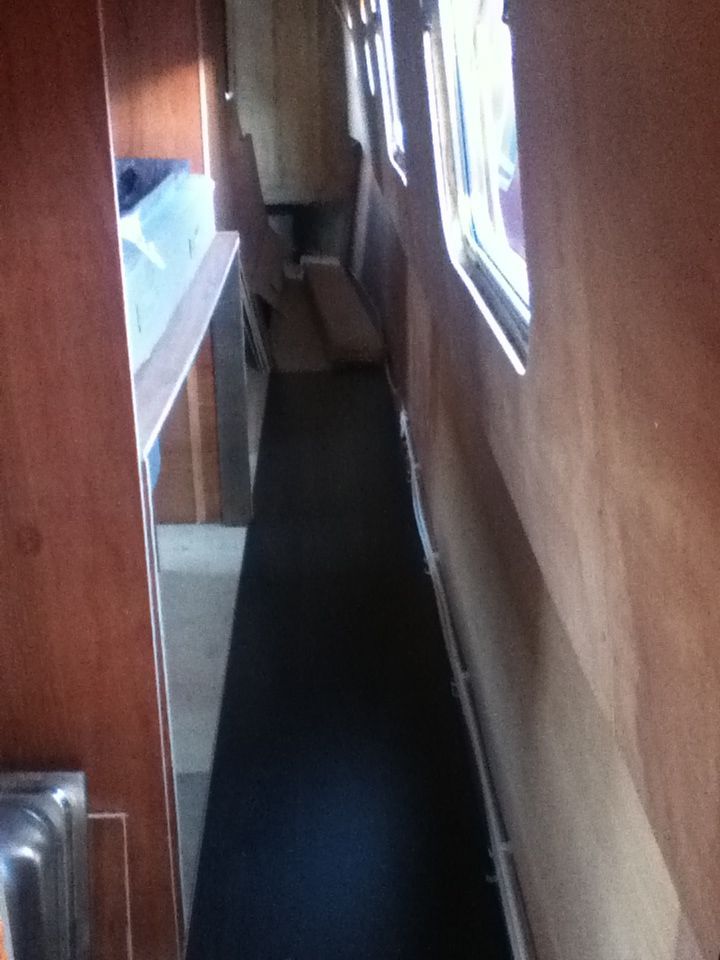
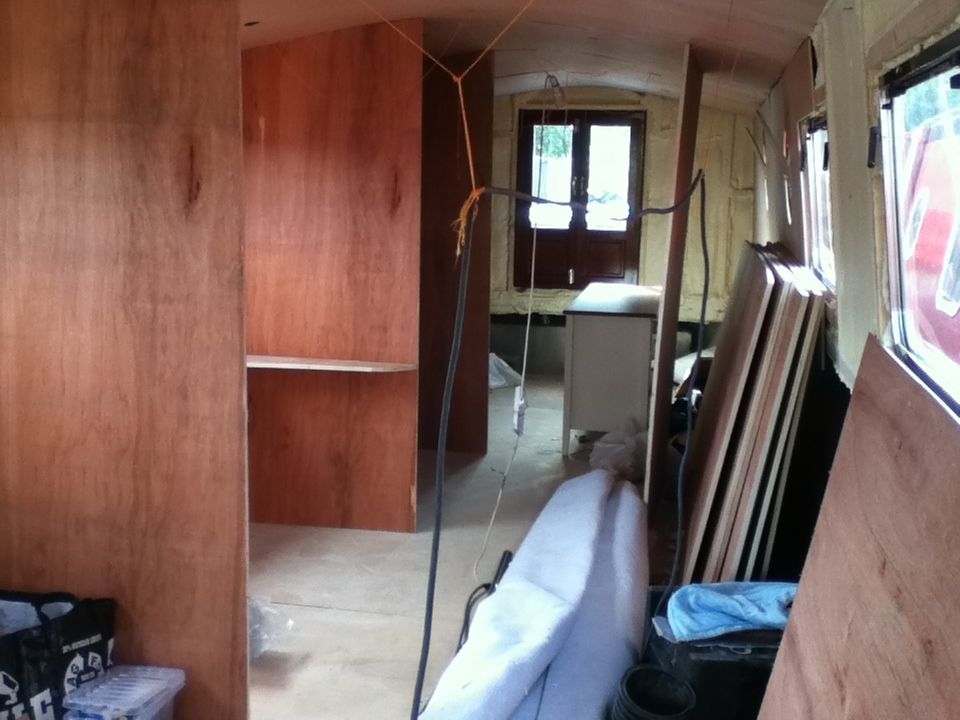
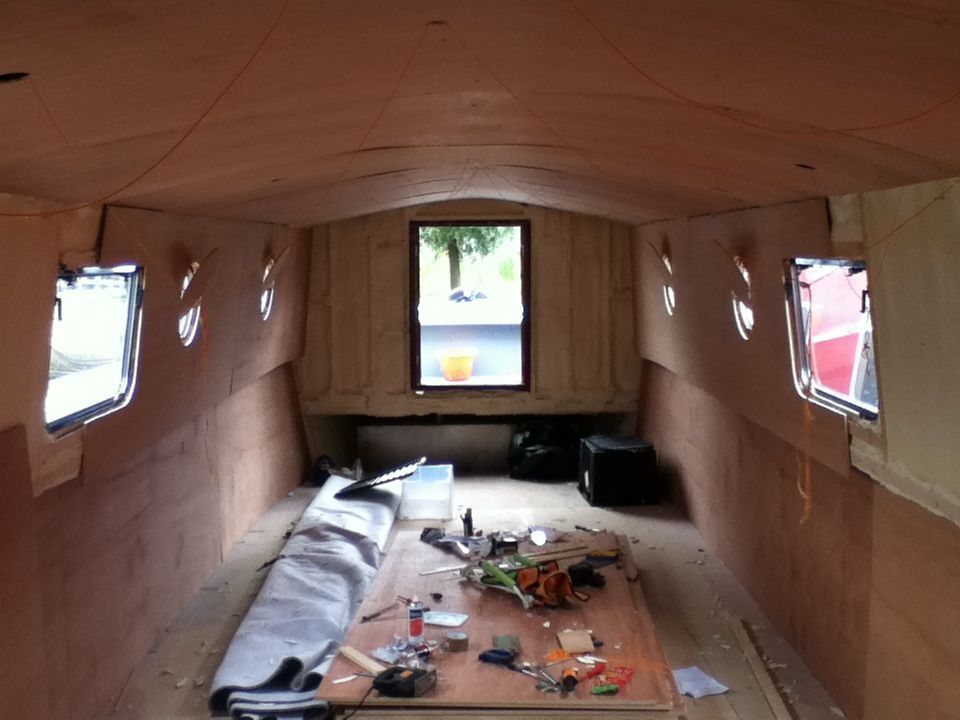
The boat flooring has been laid, plus carpeting in the kids cabins.
I've fitted the Morco gas heater, and drilled/hacksawed through the roof. It wasnt the nightmare job I thought it might be....drilled 1 starter hole, and jigsawed my way around using cutting spray......great! Connected up a few gas compression glands.
Last night we retrieved the last of our appliances in storage (fridge,freezer,cooker etc), so I get to wire them up/pipe them in today.
This weeks tasks are:
1. drill and fit skin fittings for basin, shower, washer, sink,dishwasher.
2. connect up/assemble the shower.
3. connect up the cooker gas supply.
4. assemble a sofa.
5. cut kitchen tops to size and fit sink
6. make a plan to connect 3 sink outlets into 1.
7. cut bathroom wall to size
8. move toilet into boat.
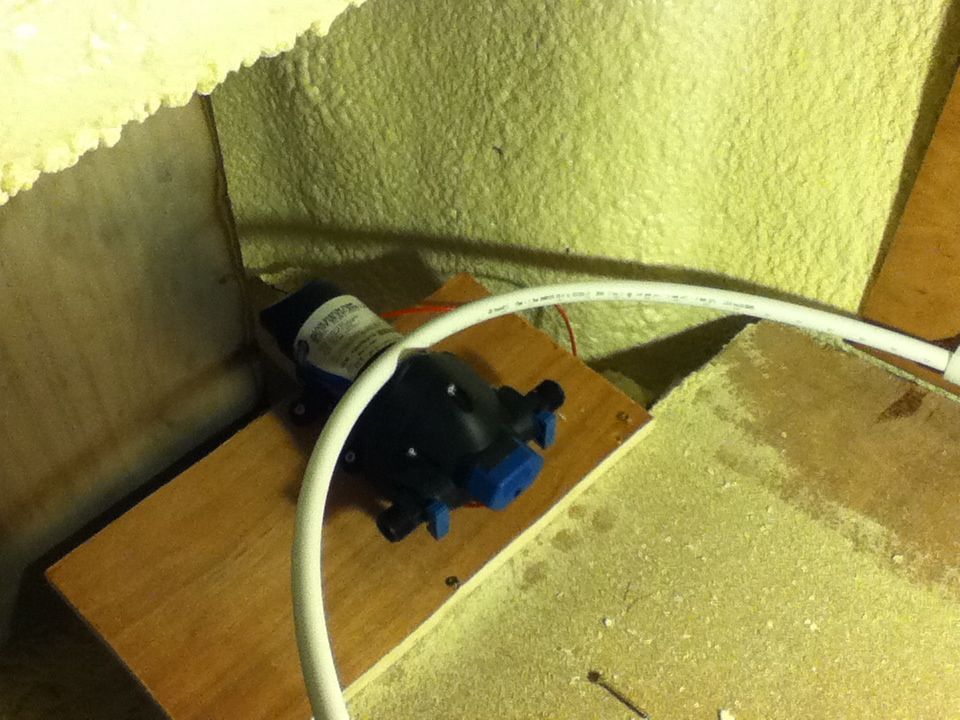
9. connect temporary battery to water pump/shower pump
...all before Satureday, which is when we move ourselves off our old boat onto the widebeam, so we can start preparing the old boat for it's new owner, who picks it up a few days later.:)
Not a minute to lose....busy drinking a cuppa, and then I'm getting started. Pics will follow :)
Sunday, 19 August 2012
Day 8 :)
Yesterday we got to grips with putting down the flooring in the kitchen, saloon and passage...which was a great success, but really much harder than I thought it would be. Beware starting in the wrong corner:)
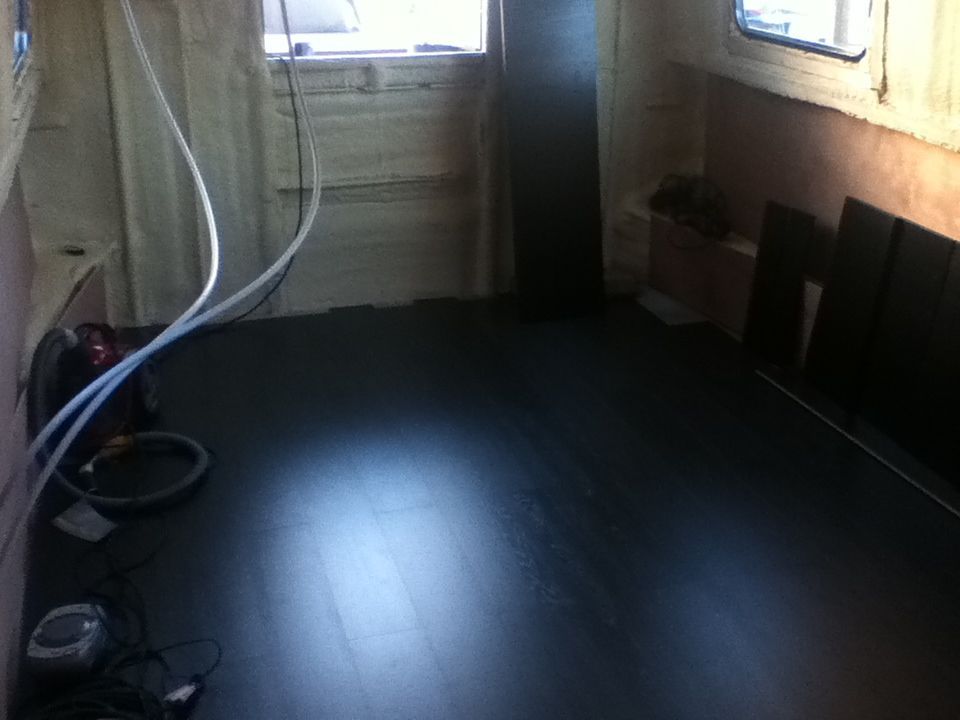
 Late last night we added underfoam for the kids cabins and put in one carpet. Doing the other today, and getting started on the kitchen cabinets (I think). Water pump is also semi installed.
Friday, 17 August 2012


continuing the update of Day 5,6,7.
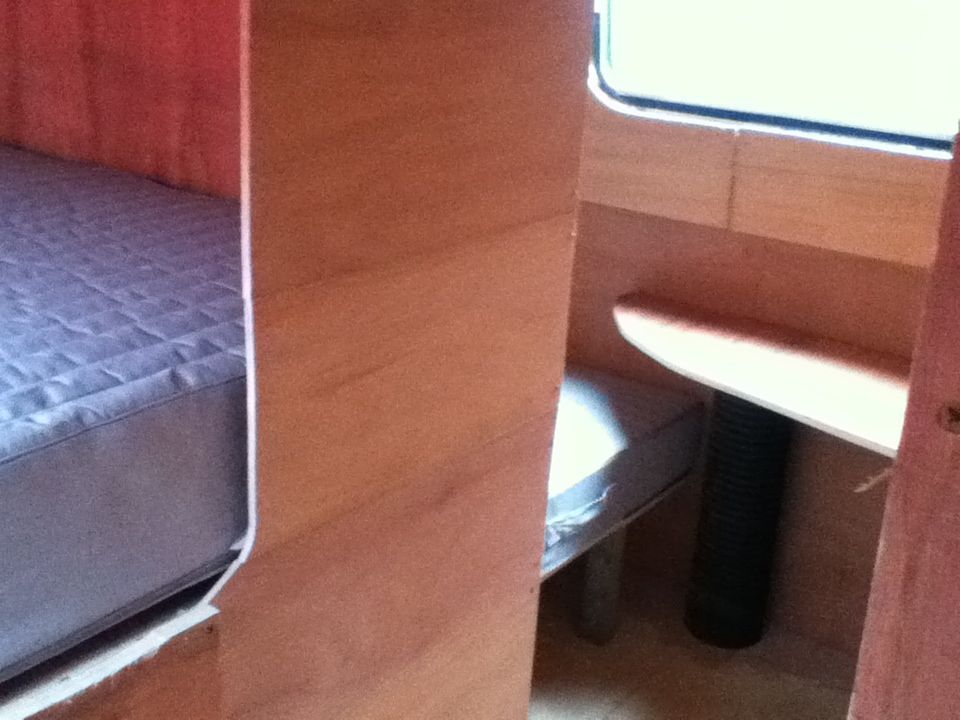
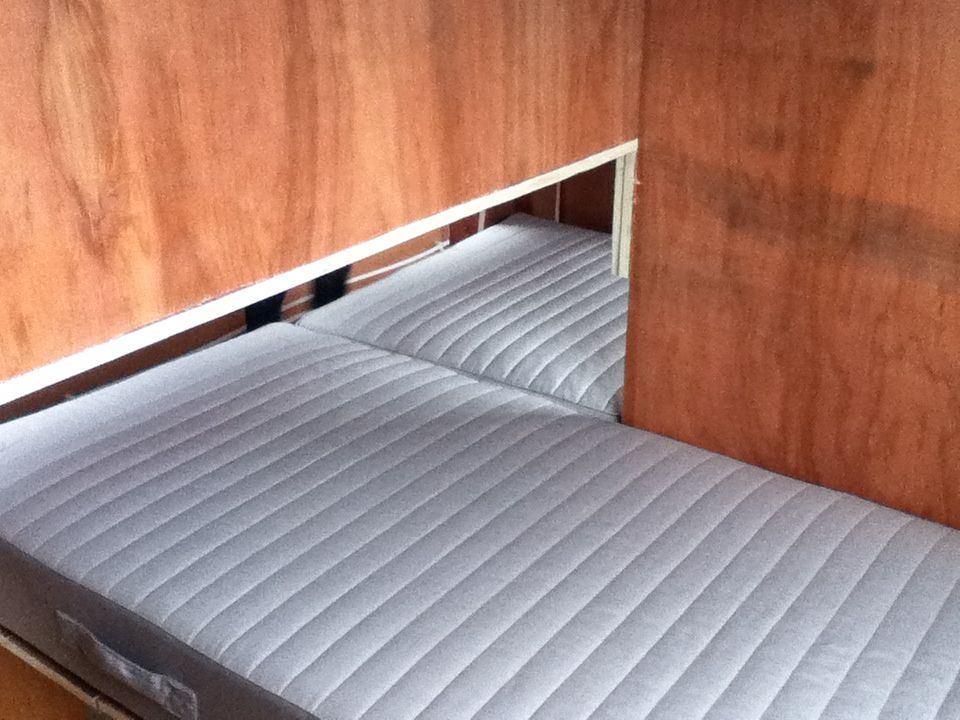
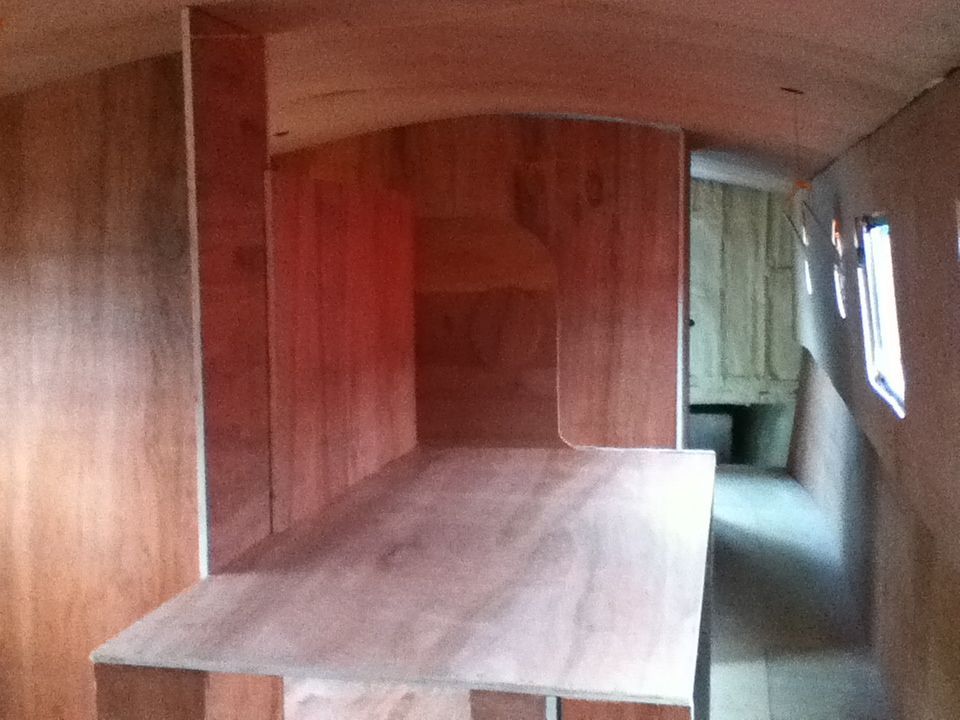
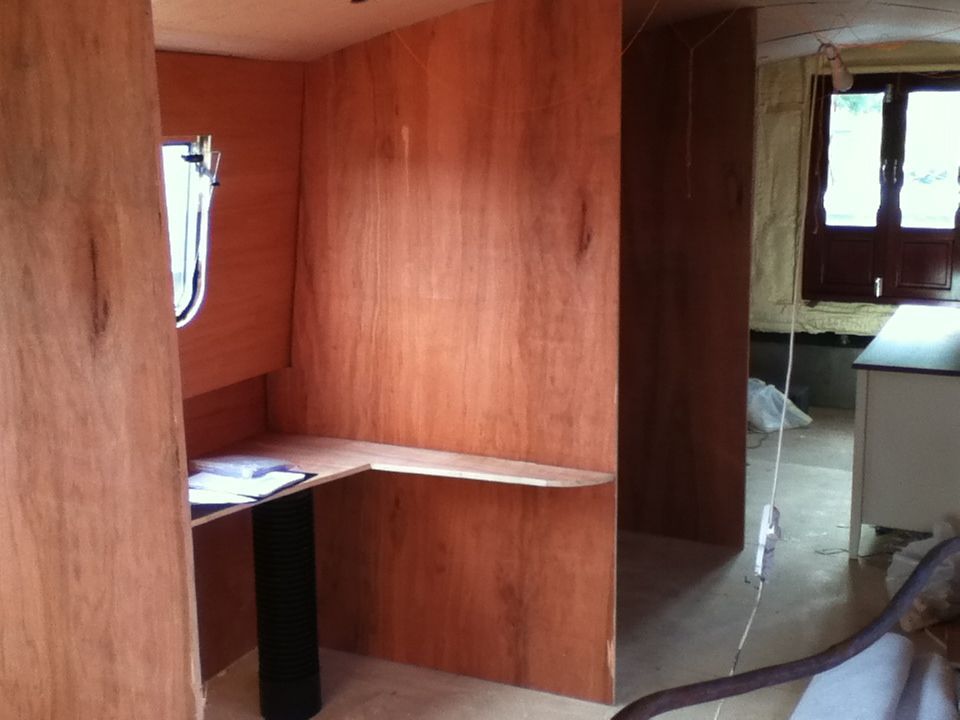
I built a bunk for the younger kid. I built 2 beds under it (at 90degrees). (Imagine 2 cabins...mirror image of each other, seperated by a bulkhead, with beds against the bulkhead....both feet under the bunk bed.
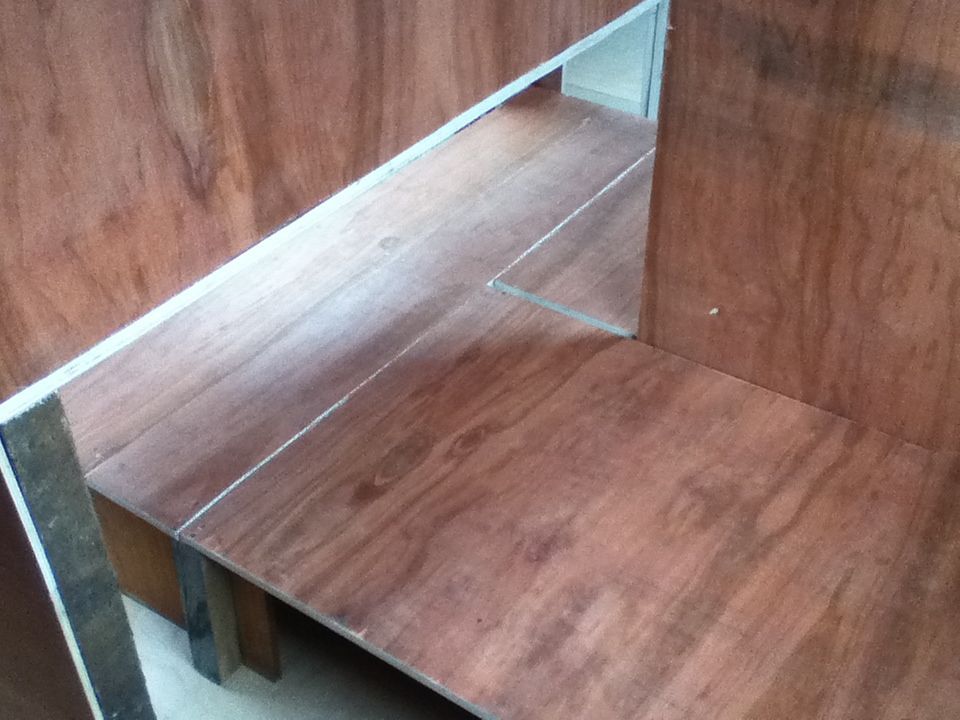 The pic below, shows the carcass of the bunk over the bottom beds. I've already built side walls so the 3 kids are seperated, so they have their own space.
Well....havent updated the blog for 2 days, because I've been rather busy :) I'll comment on the pics one at a time.
Day 5,6,7.
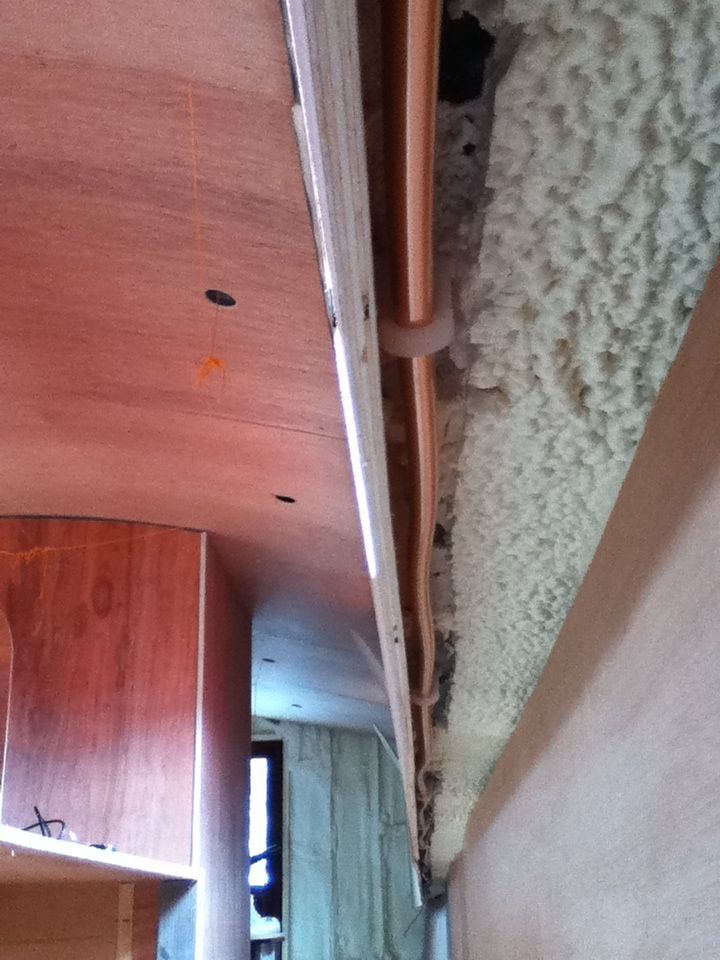
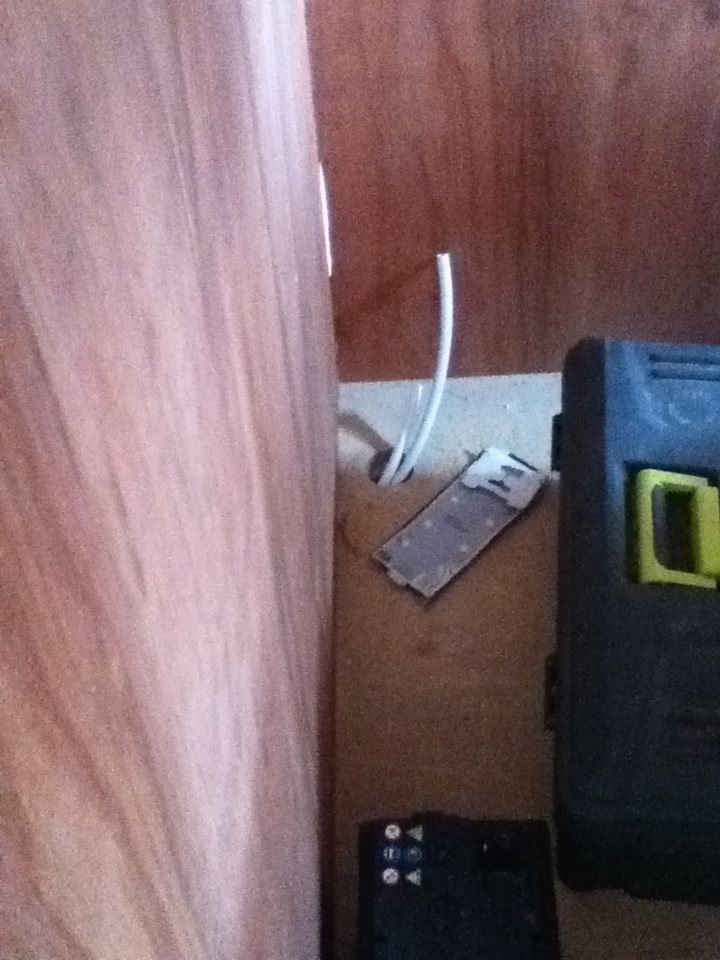
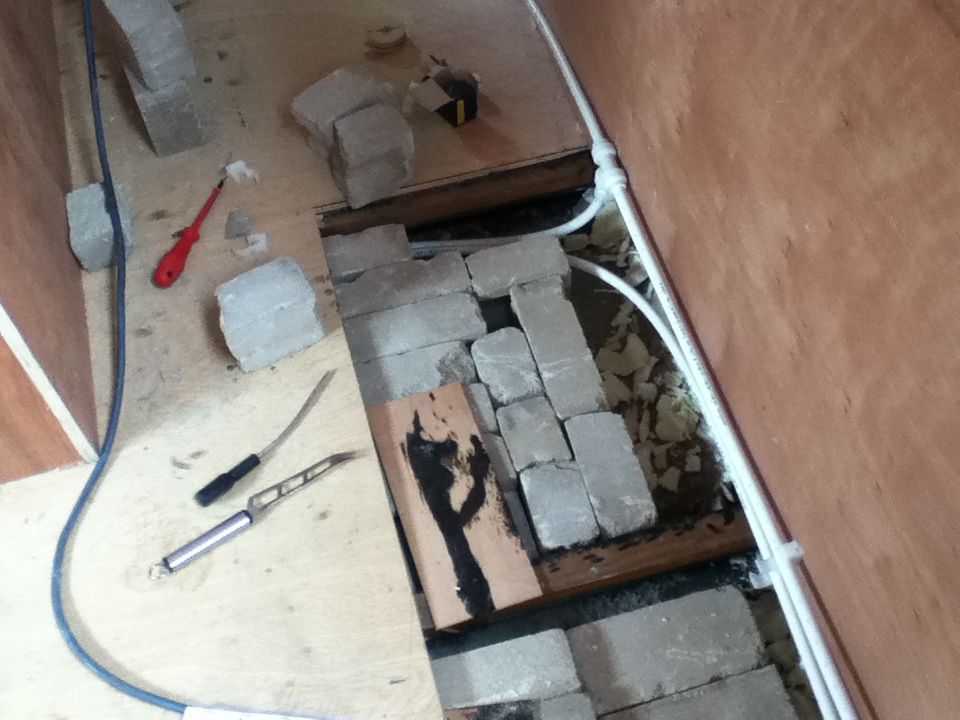 This pic shows how I had to make a space between some bricks to run the water lines across the passage to feed the shower, basin and toilet. The next pic will be the completed job. I kept the one pipe without any fittings...to avoid more risk of leaks. I used a T-Piece on the cold water pipe which was unavoidable.
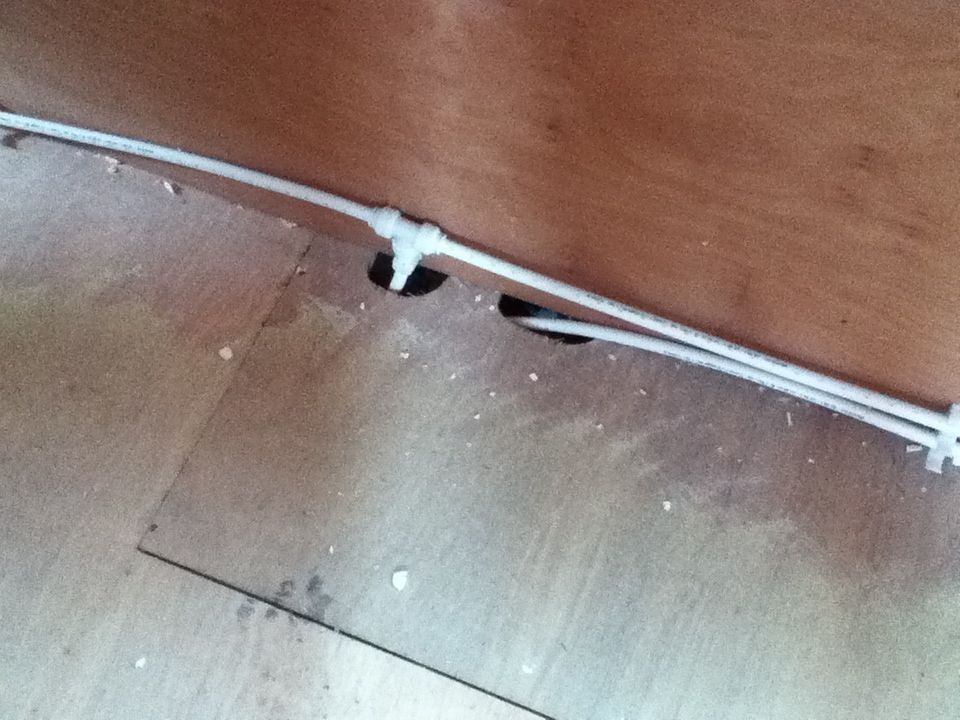 The pic below shows where the pipes pop up out the floor..ready to receive T-Pieces..to supply the shower..and contine to basin..and toilet.
Wednesday, 15 August 2012
Monday, 13 August 2012
Day4:
Started using an IPod to take pics..but the battery is dead, so will upload new pics shortly once it's charged. Ceiling ply is done. Started the top side ply boards today, which meant cutting holes for portholes and windows. Half done. Will finish the rest tomorrow, meaning there's hardly any spray foam to look at any more, and it's time to start doing bulkheads (walls) to seperate the different rooms. Discovered I forgot to clean the sprayfoam under the roof vents before putting up the ceilings, so will need to use a holesaw and cut holes from the inside out, ...and then fit some bug filter material, and end off with an inside vent cover for each.
Sunday, 12 August 2012
Day 3:
Started installing the ceiling boards today. Big job cutting more sprayfoam away. Had to screw small support strips of wood onto the side of each board, so where each board meets, they can be secured properly from behind...invisibly...keeping the seam quite neat. I had the help of my teenager, who has longer arms than me, and held each board up, while I frantically screwed it into place.....along each edge...(side edges) as well as where it met the previous board (across the boat). It all looks decent enough, and I'll eventually screw some beading to hide any joins that werent perfect. I drilled all the holes for downlights before installing the ceiling boards, but as the downlighters havent arrived from Ebay yet, I thread string through all the holes, so I can pull the 12V cabling through later...all connected in a central duct...running down the boat in the middle of the ceiling....pics will come later....unfortunately the teen is off to a youth camp for a week, and he's taking our camera with him...thus no pics unless I can get my netbook to use the webcam tomorrow :)
I think it's been a good 3 days..Sprayfoam cut back. Bottom side ply is in. Ceilings done. Tomorrow I'm hoping to do all the cutouts for windows etc, and install the side top ply. That will really mean the interior bulkheads can start going in...plus kitchen cupboards.... Nothing like having a deadline of 2weeks to get it all done...before the family take up residence.
Saturday, 11 August 2012
Day 2:
Another busy day. I had to install battons along the bottom sides..This involved drilling through the metal side plates with a 4mm drill, then half drilling with a 5mm in the same holes..and then screwing the wooden batton onto the metal with self tapping screws....
 Then I screwed the plywood sheets onto the battons. Today I finished almost all the bottom ply sheets. I tried mounting 1 ceiling board...had some trouble, until I decided to nail on a wooden plank all the boat...stern to bow....along each top corner....This gives an easy way of identifying where to screw from beneath when holding up the ceiling board (6mm ply). I then screwed the centre of the board to the top centre of the boat roof...direct onto the battons provided by the boat builder. Pics of this tomorrow. 1 installed, and looks good. I spent the rest of the day cutting back more ceiling spray foam...as it was in the way of the ceiling ply edges.


Friday, 10 August 2012
Well. What a day! Got stuck into the sprayfoam. Here's my early morning selection of "instruments".
 I very soon found that these 3....were the best for the job.
 The cheese knife has been wonderful. Sharp. Spiky. Cuts through harder bits with ease. The scraper cleared up behind the cheese knife, and the breadknife did a good job of getting behind strips of foam and "pinging" it off. After a few hours...I had cut back most of it......but still a bit to do on the roof tomorrow...which I figure I'll do as we put on each ceiling board.
 This afternoon the wood delivery arrived, but he only delivered to the marina gates, and I had to put 11 x 18mm ply, 20x9mm ply, and 12x6mm ply...on a small trolley ..and wheeel it to the boat. Took ages...and my body is dead. Had to get wife to help me load the whole lot into the boat through the stern doors...but eventually all done....ready for tomorrow. Planning on putting in some lower battoning..and screwing the bottom ply in place on both side.


Thursday, 9 August 2012


Wednesday, 8 August 2012
Day 1:
Very nervous. Have to get a few things together, and go down to collect boat. It has no front or back buttons at this stage, but I found some old tyres to stick on the bow so it doesnt scratch the lock gates :) Pics later. Thought I'd do a running daily account, with progress, so anyone interested in doing this kind of thing, will be able to follow some sort of time line.
Visited the new widebeam shell today :) It was ordered in June, and it's ready by August. That's good going. An affordable, economical shell, built to the builders spec, means there was nothing much to go wrong. They pump them out at about 1 per month at the moment, and no funds passed hands until the boat was actually built. Lymm Marina Boat Sales I had the handover this morning, ...and although I havent taken my own photos yet, these ones are relatively what I'm fetching in the morning.


Saturday, 4 August 2012
Sailaway shell arrives in 1 week.
We have a lot of appliances, kitchen tops, sinks, taps, cookers, fridge, freezer, dishwasher, plumbing piping and fittings, solid fuel stove, mattresses, etc in a little storage room. Just ordered about 40 items on Ebay...only to find that a bank card cuts off after 15 items...so we had to break the purchases into smaller groups....the courier is going to be driving back and forward permanently to our boat this week....let's hope everything arrives....just off the top of my head, some of the things arriving should be,,,:
stove flue, collar etc
electrical plugs
light bulbs and switches
electrical box and isolators
wire connector crimps and crimper
hole saw set
new jig saw
blades
drill bits
threading taps set
3x110V batteries
Gas fittings and piping
Fusebox
Got a few more things to order this week:
Water accumulator
Paint
Plyboard for the ceiling
Spotlight holders
Some things arriving after the boat arrives:
Flooring
Plywood for walls
all the things I've so far forgotten
The idea is, get the boat, get all the basics in as quickly as possible..so the family can move on board, and have the basics....them being:
electricity
water
cooking
beds
workareas for tv/pcs/xbox/printer/filing :)
Subscribe to:
Posts (Atom)